
Basement Finishing in Belmont, Massachusetts
What a Basement Finishing Job Involves
A basement finishing job starts with what’s already down there. Most unfinished basements have a slab floor, exposed foundation walls, exposed joists overhead, and a mechanical area with the furnace, water heater and electrical panel. Some of that stays exposed by code, some of it gets boxed in, and some of it moves.
What comes out first, if anything, is old flooring, damaged insulation, or a partition wall that’s in the wrong place for the new layout. What goes in after that is framing for new walls, a vapor barrier or rigid foam against the foundation depending on the wall type, batt or spray insulation in the stud bays, electrical rough-in for outlets, lighting and any subpanel work, and if the room will include a bathroom, rough plumbing before anything gets closed up.
The trades involved are framing, electrical, insulation, drywall, and plumbing if a bathroom is part of the scope. HVAC comes in either as ductwork tied into the existing system or, more often in an older Belmont house where the furnace wasn’t sized for extra square footage, a ductless mini split dedicated to the new room.
What you’ll see happening in your house: deliveries of lumber and drywall, dust control between the basement and the rest of the house, and inspectors coming through at framing, rough electrical and rough plumbing before drywall goes up. What you generally won’t see: us opening walls upstairs, working outside the basement footprint, or touching your main electrical service unless the panel itself needs an upgrade to support the new circuits.
The Belmont Housing Stock and What It Means For Your Job
Belmont’s housing stock skews older than a lot of towns west of Boston. A large share of the housing was built between the 1920s and the 1950s, with pockets of earlier construction near Belmont Hill and Belmont Center. Foundations from that era are typically fieldstone, rubble, or early poured concrete, not the block or poured concrete you’d find in a house built after about 1960. That difference matters more than almost anything else in a basement finishing job, because it changes how we frame and insulate before drywall ever goes up.
Fieldstone and rubble walls are uneven by nature. They were built to hold back earth, not to take a straight run of studs or a level top plate. We furr those walls out with shims and blocking rather than assuming a wall is square, and we check for active moisture or efflorescence before insulation goes anywhere near the stone, because trapping moisture behind foam or drywall on an old fieldstone wall causes more damage than the wall would take on its own.
Belmont’s hillside terrain is the other factor that shows up in almost every job. A lot of lots step down toward the back or side of the house, which means one foundation wall sits mostly below grade while the opposite wall is close to daylight or opens onto a walkout. Basements finished on the daylight side get more natural exposure and are easier to add an egress door to. Basements finished on the low side need more attention to drainage and grading before we insulate, because a wall that takes on water in a wet spring will ruin finished work behind it within a season or two.
Ceiling height is worth mentioning too. Many Belmont basements built before the 1960s have clear ceiling heights close to the code minimum once ductwork, pipes and a finished ceiling are accounted for. We measure this on the first site visit, because it decides whether a dropped ceiling grid works or whether we need to run new HVAC and electrical tight to the joists to keep every inch of headroom.
Options and What We Recommend

Materials We Use And Why
Framing lumber is kiln dried spruce-pine-fir for standard framing, with pressure treated bottom plates anywhere framing touches the slab or a foundation wall, since untreated wood against concrete or stone picks up moisture over time.
Insulation depends on the wall. Foundation walls with a history of dampness get closed cell spray foam, which acts as both insulation and a vapor barrier in one step. Dry walls get rigid foam board against the foundation with batt insulation in the stud cavity, which is less expensive and performs well when the wall itself isn’t a moisture concern.
Drywall below grade is moisture resistant board, not standard drywall, on any wall that borders the foundation, even in a house with a dry basement, because a below grade room runs at higher ambient humidity than the rest of the house regardless of whether there’s ever been a leak.
Flooring is either luxury vinyl plank or porcelain tile, both of which handle the humidity and occasional moisture that standard hardwood or laminate can’t. Carpet is an option over a subfloor system that keeps it off the slab, but not directly over concrete.
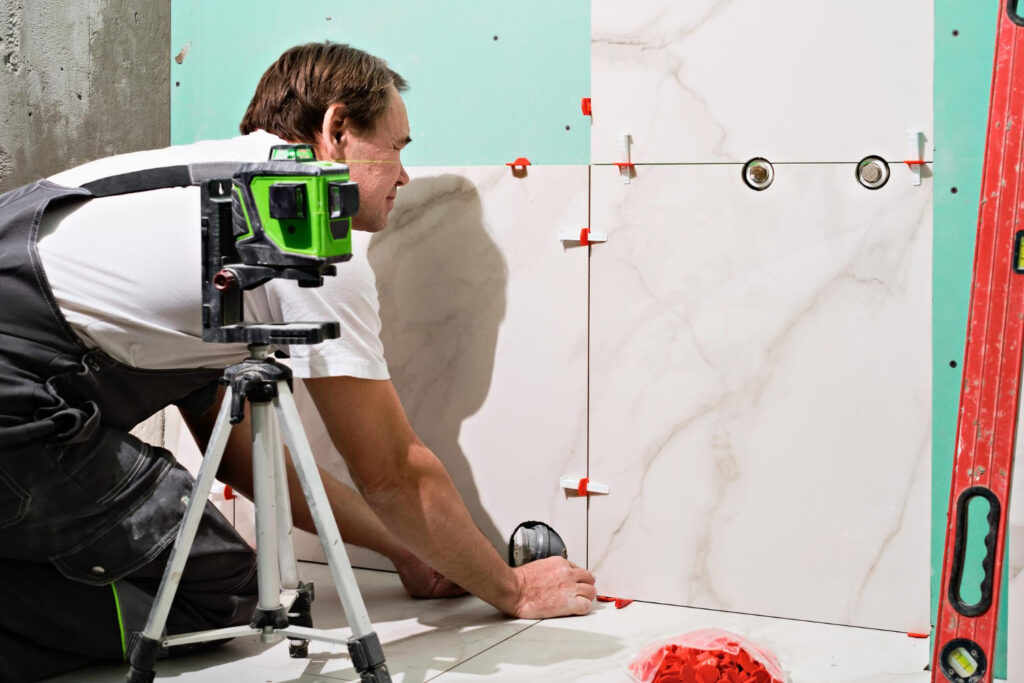
For a bathroom or wet area, we use cement board rather than drywall behind tile, and PEX for any new supply lines, since it handles the tight framing cavities in an older foundation better than rigid copper runs.
Permits and inspections in Belmont
Basement finishing in a Massachusetts municipality like Belmont typically requires a building permit for the framing and any structural work, plus separate electrical and plumbing permits if those trades are part of the scope. Adding an egress window or door usually triggers its own review, since it affects the foundation. We pull all of these permits as part of the project, and the town inspects at set points, framing, rough electrical, rough plumbing if applicable, and a final inspection once the space is complete. Nothing gets closed up behind drywall until the relevant rough inspection has passed.
Timeline from first call to final walkthrough
A typical basement finishing project in Belmont runs six to ten weeks from the first site visit to final walkthrough, depending on scope. The first one to two weeks cover the site visit, scope and quote, and permit submission. Once permits are approved, framing and any foundation remediation take one to two weeks, followed by electrical and plumbing rough-in and inspections, usually another week. Insulation and drywall follow, then flooring, trim, doors and paint close out the project. A project that adds an egress window or a bathroom runs toward the longer end of that range, mostly because of the extra permitting and inspection steps. Process has the full step by step breakdown.
What We Do Not Do
How We Quote
Every project gets a written quote before work starts, not a verbal estimate. It breaks the job down by scope, framing, insulation, electrical, plumbing if applicable, drywall, flooring, and permits, so you can see what each part costs rather than one lump number. If foundation remediation is needed, that’s priced as its own line so it’s clear what’s driving the cost. Cost page has typical price ranges by scope. The price in the quote is the price you pay unless you change the scope partway through, and any change gets written up and priced before we make it.
Frequently Asked, Answered Short
Can you finish a basement that's had water in it before?
Do I need a permit to finish my basement in Belmont?
Yes, for the framing and any electrical or plumbing work involved, and we handle pulling those permits as part of the project.
How low can my ceiling be and still finish the space?
It depends on Massachusetts building code minimums for habitable space once ductwork and a finished ceiling are accounted for, which is why we measure clear height on the first site visit before recommending an approach.
Can I use my basement as a bedroom once it's finished?
Only if it has a code compliant egress window or door, which is a separate scope from a standard basement finish and something we plan for upfront if that’s the goal.